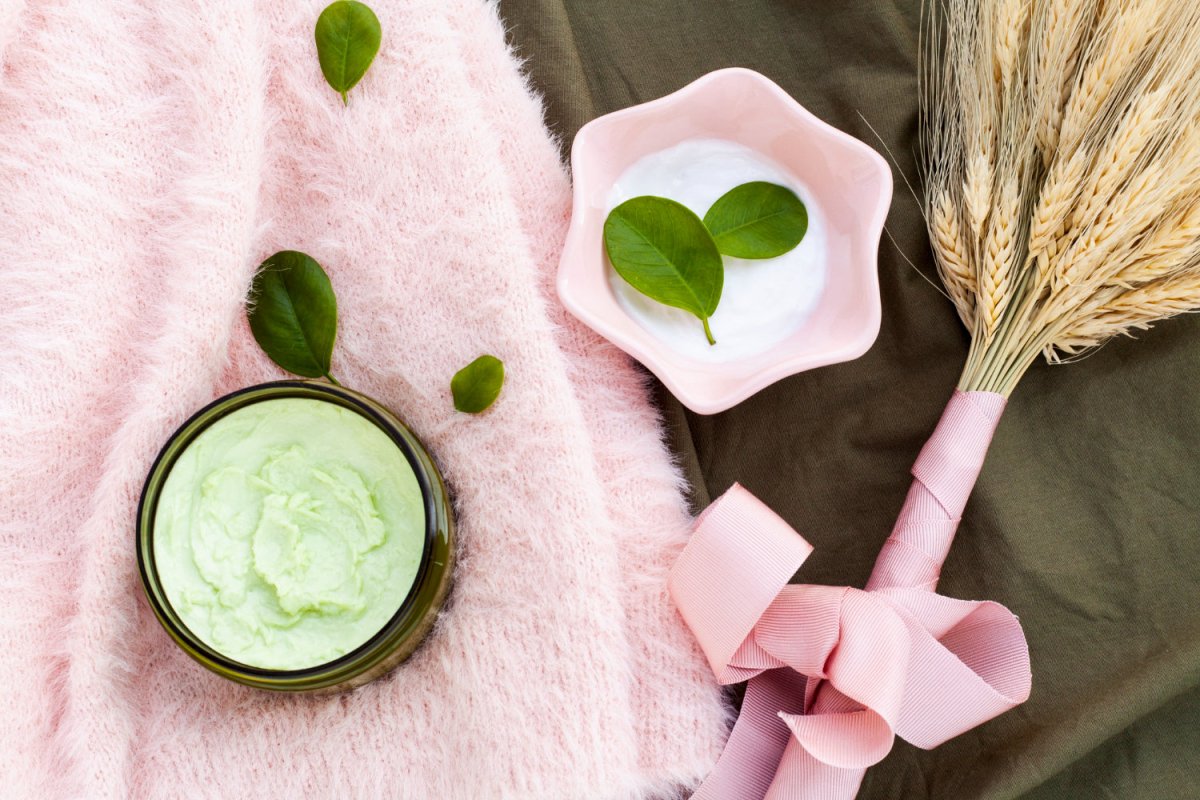
Whipped Body Butter Featuring Our Skin Oils DIY
Here is our favorite DIY whipped body butter recipe. It’s really easy and super luxurious plus it makes a great holiday gift. Body butters are a great alternative to body oils, and can leave the skin feeling soft and deeply nourished and hydrated. They tend to be less greasy than body oils, and are loaded with some powerful nutrients that have been known to restore the skin’s elasticity, strength and vibrancy.
What you will need:
- Small metal or glass bowl
- Glass beaker or measuring cup
- Stirrers, either metal or glass
- Electric Mixer, like a Kitchenaid, or a hand-held mixer.
- Digital Scale
- Silicone spatula
- 2 (2 oz / 50 gram) glass jars with tight fitting lids
- Blank Labels
- Parchment Paper
Ingredients:
- 50 grams if Shea Butter
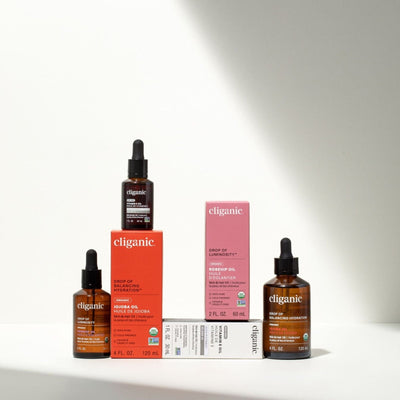
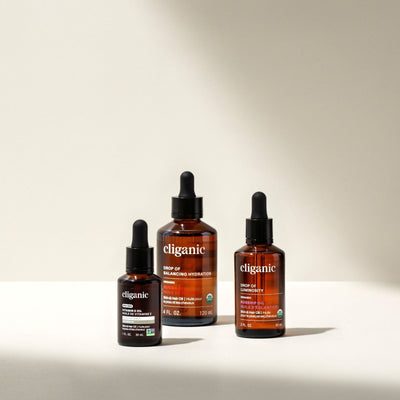
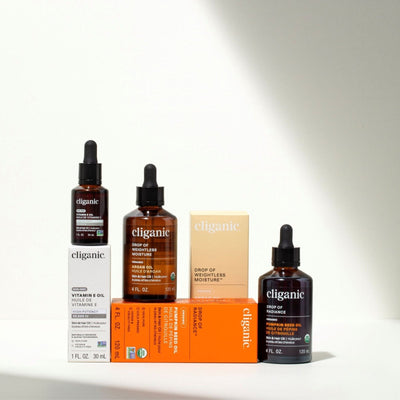
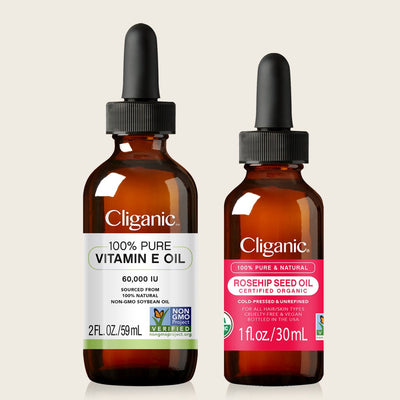
- 10 grams (2 tsp) of Rosehip Oil
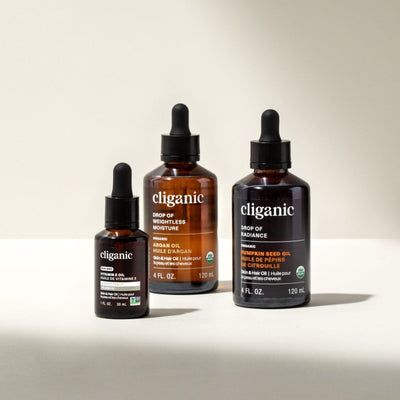
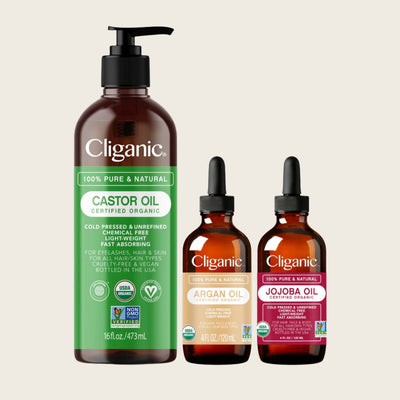
- 10 grams (2 tsp) of Argan Oil
- 1 gram (20 drops) of Vitamin E Oil
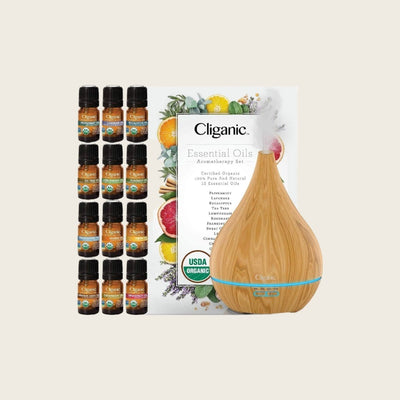
- 3 drops of Patchouli
- 4 drops of Ylang Ylang Oil
- 8 drops of Cedarwood Oil
- 7 drops of Sweet Orange Oil
Steps:
- Before starting to make the recipe make sure the area where you will be blending is very clean. That means wiping down counter spaces with rubbing alcohol and putting away any food items and extra clutter. Once your counter space, or table top is clean, line the area with some parchment paper, pull your hair back and thoroughly wash your hands.
- Set out your digital scale and all other blending tools so they are easy to grab when needed.
- Bring out all of your ingredients so they are accessible.
- Using your small digital scale, and measuring spoons, start measuring out each ingredient separately into their own beaker or measuring cup, until you have every ingredient laid out in front of you.
- Pour together all the carrier oils and essential oils into a beaker and mix thoroughly and set aside.
- Add the Shea Butter to the medium size mixing bowl and start whipping it with your mixer until the butter is light and fluffy.
- Once the Shea Butter reaches this consistency, slowly start drizzling in your blended carrier oils and essential oils, making sure to scrape down the sides until the butter is velvety and creamed.
- Using your spatula, portion out the butter into your 2 glass jars and cap tightly
- Create a name for your butter and write the name and the ingredients on your label and affix to your jars.
- Use as often as needed.

What’s the difference between butter and carrier oil?
Both Carrier Oils and Butters are extracted from the seeds of different plants. They both contain a similar arrangement of molecules that include essential fatty acids and trace amounts of vitamins, sterols and minerals that have been shown to improve the elasticity and resiliency of the skin. What makes them different is that the kind of essential fatty acids that are pressed out of some seeds looks and feels thicker and heavier, yielding a butter-like consistency; Shea Butter, or Cocoa Butter, or Mango Butter are great examples because the extract pressed from these plants is thick and solid-feeling. Whereas the extract that is pressed from Argan nuts, or Jojoba Seeds, is liquidy and runny, and feels oily to the touch. Although they look and feel different, butters and oils both nourish, soften and soothe the skin in similar ways and can be used interchangeably if you are looking to hydrate dull, dry winter skin.

What are the aromatherapeutic properties of the essential oils we are using?
We chose Ylang Ylang, Patchouli, Sweet Orange and Cedarwood for this recipe because we wanted to create a sensual aromatic experience that felt both grounding and comforting. All four of these essential oils have properties that are protective and calming, and can promote skin health and wellbeing, and reduce the appearance of skin discoloration, fine lines and wrinkles.
Plus! This recipe makes a great holiday gift! Please share with us how you’ve enjoyed making this recipe.


